Dairy-free Skor Bar Cups
Source: http://www.healthfulpursuit.com/
5 ingredient chocolate cups filled with hard toffee. Just like a Skor bar but with no dairy or refined sugars.
Recipe type: Vegan, Gluten-free, Dairy-free, Refined sugar-free, Yeast-free, Corn-free, Grain-free, Nut-free (option)
Prep time: 10
mins Cook time: 30
mins Total time: 40 mins
Serves: 12
Ingredients
Chocolate:
½ cup cacao powder
¼ cup coconut oil, melted
¼ cup coconut nectar
Toffee:
⅓ cup coconut nectar
3 tablespoons coconut sugar
1 teaspoon pure vanilla extract
¼ teaspoon sea salt
Optional creepy topping:
Finely ground almonds
Plastic bugs or flies
Instructions
Prepare the chocolate sauce by whisking all of the ingredients together.
Fill 12 mini plastic cups about ⅓ of the way up. I used mini silicon muffin cups. Once they’re filled, push the chocolate up the sides with a spoon. Set aside.
Combine toffee ingredients in a small saucepan. Bring to a boil on medium-high heat stirring constantly. Once it’s boiling, allow it to cook for 2-3 minutes (stir, stir, stir!). You’ll know when it’s done when there’s less steam. Remove from heat and pour into prepared cups.
Top each cup with remaining chocolate and flatten the tops by tapping the cups on the counter to release air pockets and then skimming the backside of a knife off the top to make it as even and flat as possible.
Add optional toppings.
Place in the freezer for 20 minutes to harden.
View nutrition information (once on page, scroll down)
Notes
Store in the fridge or freezer. I’m sure that other liquid forms of sweeteners would work for the chocolate or toffee but I have not tried it. Options may include: raw agave nectar, honey, maple syrup, brown rice syrup, date syrup, yacon syrup, etc.
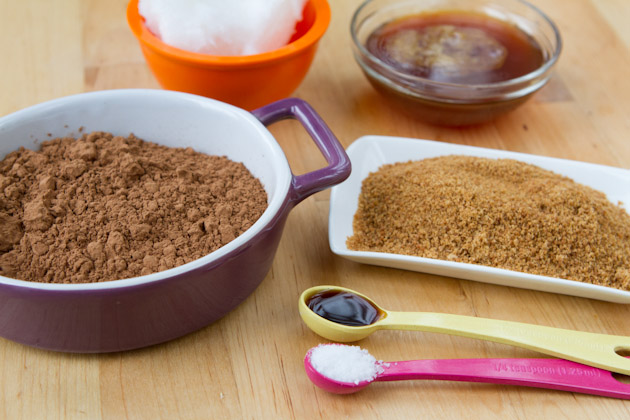
This recipe is made with just 5 ingredients, 6 if you count the salt. There’s cacao powder (cacao is richer than cocoa but cocoa would work too), coconut oil, coconut nectar, coconut sugar, vanilla extract and salt. Easy, right?
I began by mixing the toffee ingredients together and placing it on the stove top. I left the heat off for the time being, but just wanted the mixture ready to go for when I needed it.
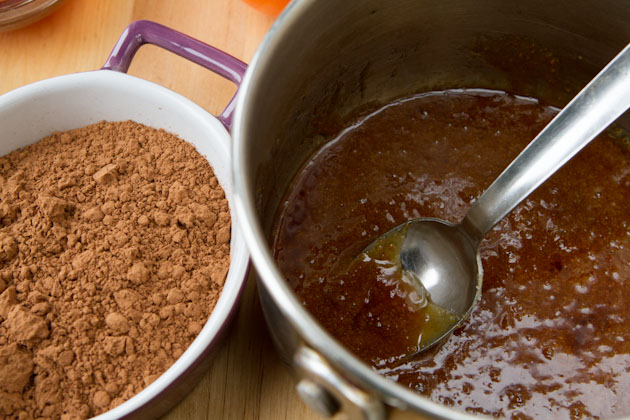
Then make your chocolate. Stir everything together really well…
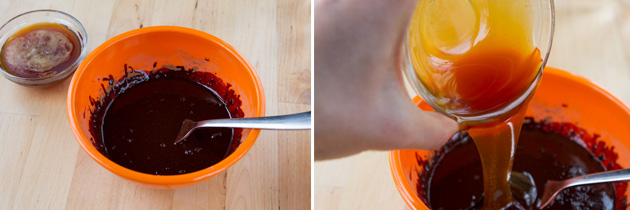
and spoon into a 12-cup mini silicon muffin pan. I purchased mine at Superstore for $1. I suppose you could use a chocolate mold too, but they’re a bit pricey.
Once the chocolate is in each cup, push the chocolate up the sides using a small spoon. This will make sure that you can’t see the toffee through the cup when all is said and done.
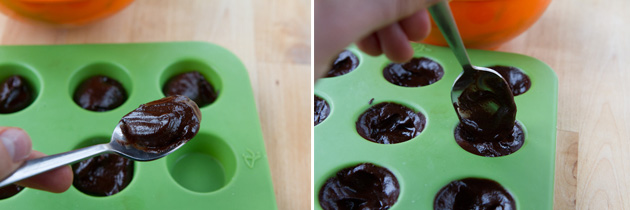
Now that your chocolate is ready to go, just set aside and cook the toffee.
Once the toffee is complete, you can either pour it right into the molds, or use a second 12-cup mini silicon muffin pan and pour a bit of the toffee in each one. If you go for the latter, place the toffee in the freezer for about 5 minutes to harden. I found that going this route made for less mess but they both yielded the same result more or less.
The picture below on the left is of the cups with the toffee poured straight in and the picture on the right is of the toffee piece. All you have to do with the piece is push it down into the prepared chocolate, making sure that there are no bubbles beneath it.
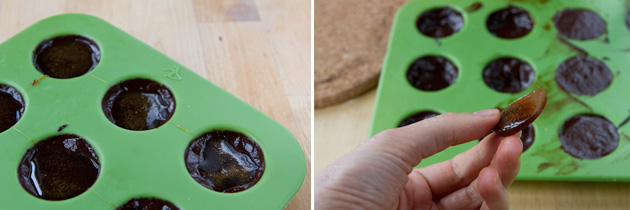
Cover the cups with additional chocolate and skim off the tops to make as flat as possible.
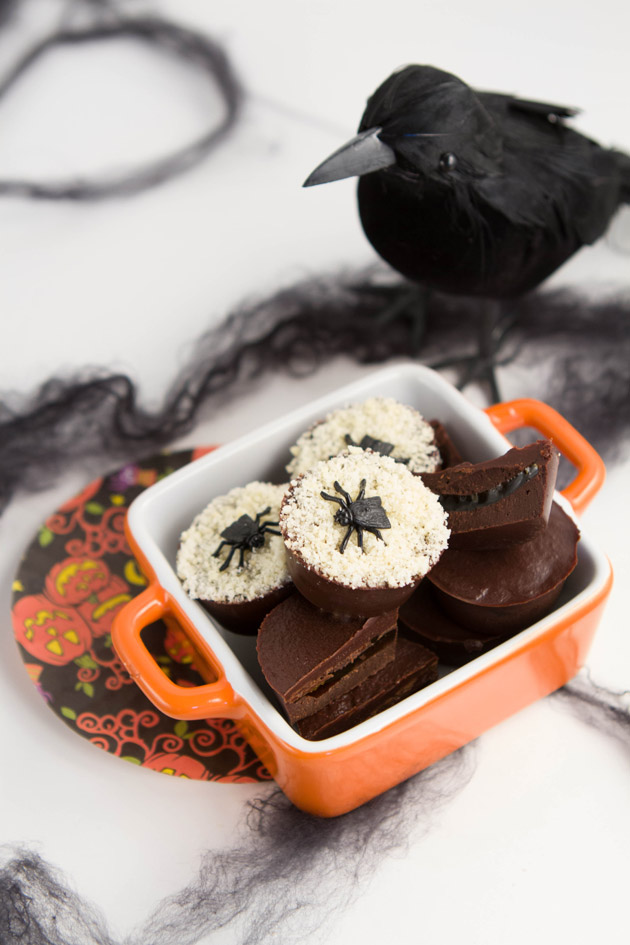
If you’re adding a topping of any kind, now’s the time to do it!
Allow them to set for a little bit while you clean up the chocolate and toffee (with your face) that will likely be strewn all over your kitchen. Did I say face? I meant a damp cloth. 😛
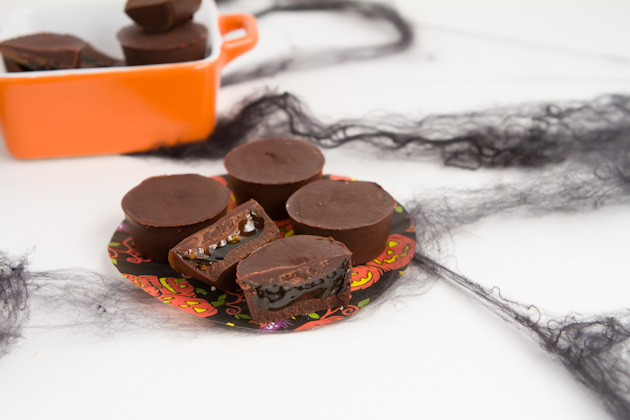
Wow, that was fun. I’ve never made this many healthy Halloween recipes in my life. Now to decide on a costume to greet the trick or treaters with in a couple of days…


![[WitchesKitchen] – Halloween Brain Dip](https://witcheskitchen.info/wp-content/uploads/2014/08/WitchesKitchen-Halloween-Brain-Dip-370x240_c.jpg)
